Importing to Figma
How to import various inputs into Figma file
Written By Lukas Pavelka
Last updated 2 months ago
Import YAML file(s)
Power Apps for Figma plugin can import particular YAML file located in your local storage.
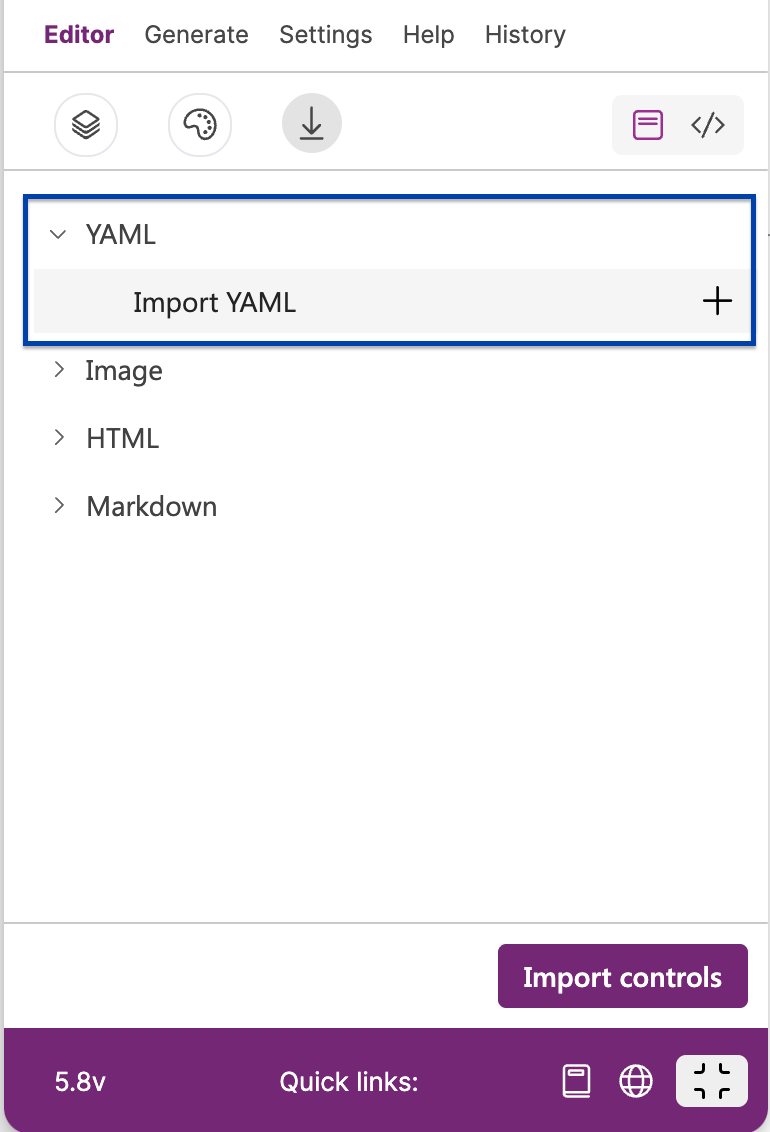
The plugin is able to import one or multiple YAML files from your local storage into Figma file.
If you use dynamic values in your screens that want to upload into Figma, then plugin is able to replace these dynamic values located in imported YAML file.
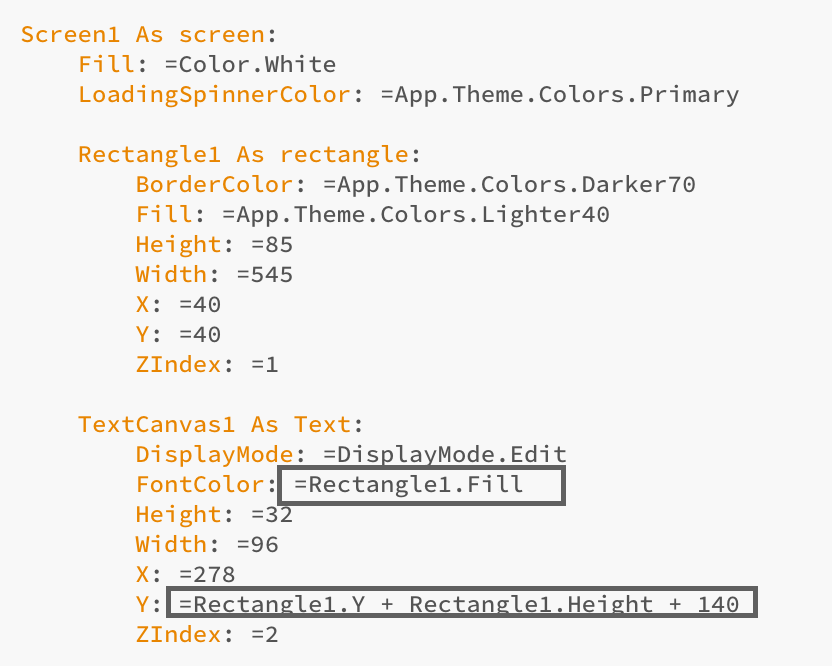
This is only possible if you upload your YAML file where the control with property value is located. For example: Dashboard screen contains dynamic value ‘FontColor = Rectangle.Fill’, then you need to upload your YAML file where Rectangle control is located.
But that’s not all! The plugin is more sophisticated. If your value includes “Color" or “App.Theme.Colors”, the plugin will replace it by real colour value.
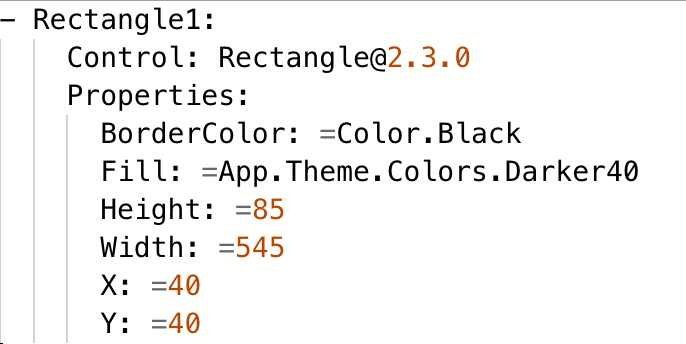
The plugin supports theme colours as Power Apps offers:
Primary
Lighter10, Lighter20, Lighter30, Lighter40, Lighter50, Lighter60, Lighter70, Lighter80
Darker10, Darker20, Darker30, Darker40, Darker50, Darker60, Darker70
How to get YAML file from Power Apps?
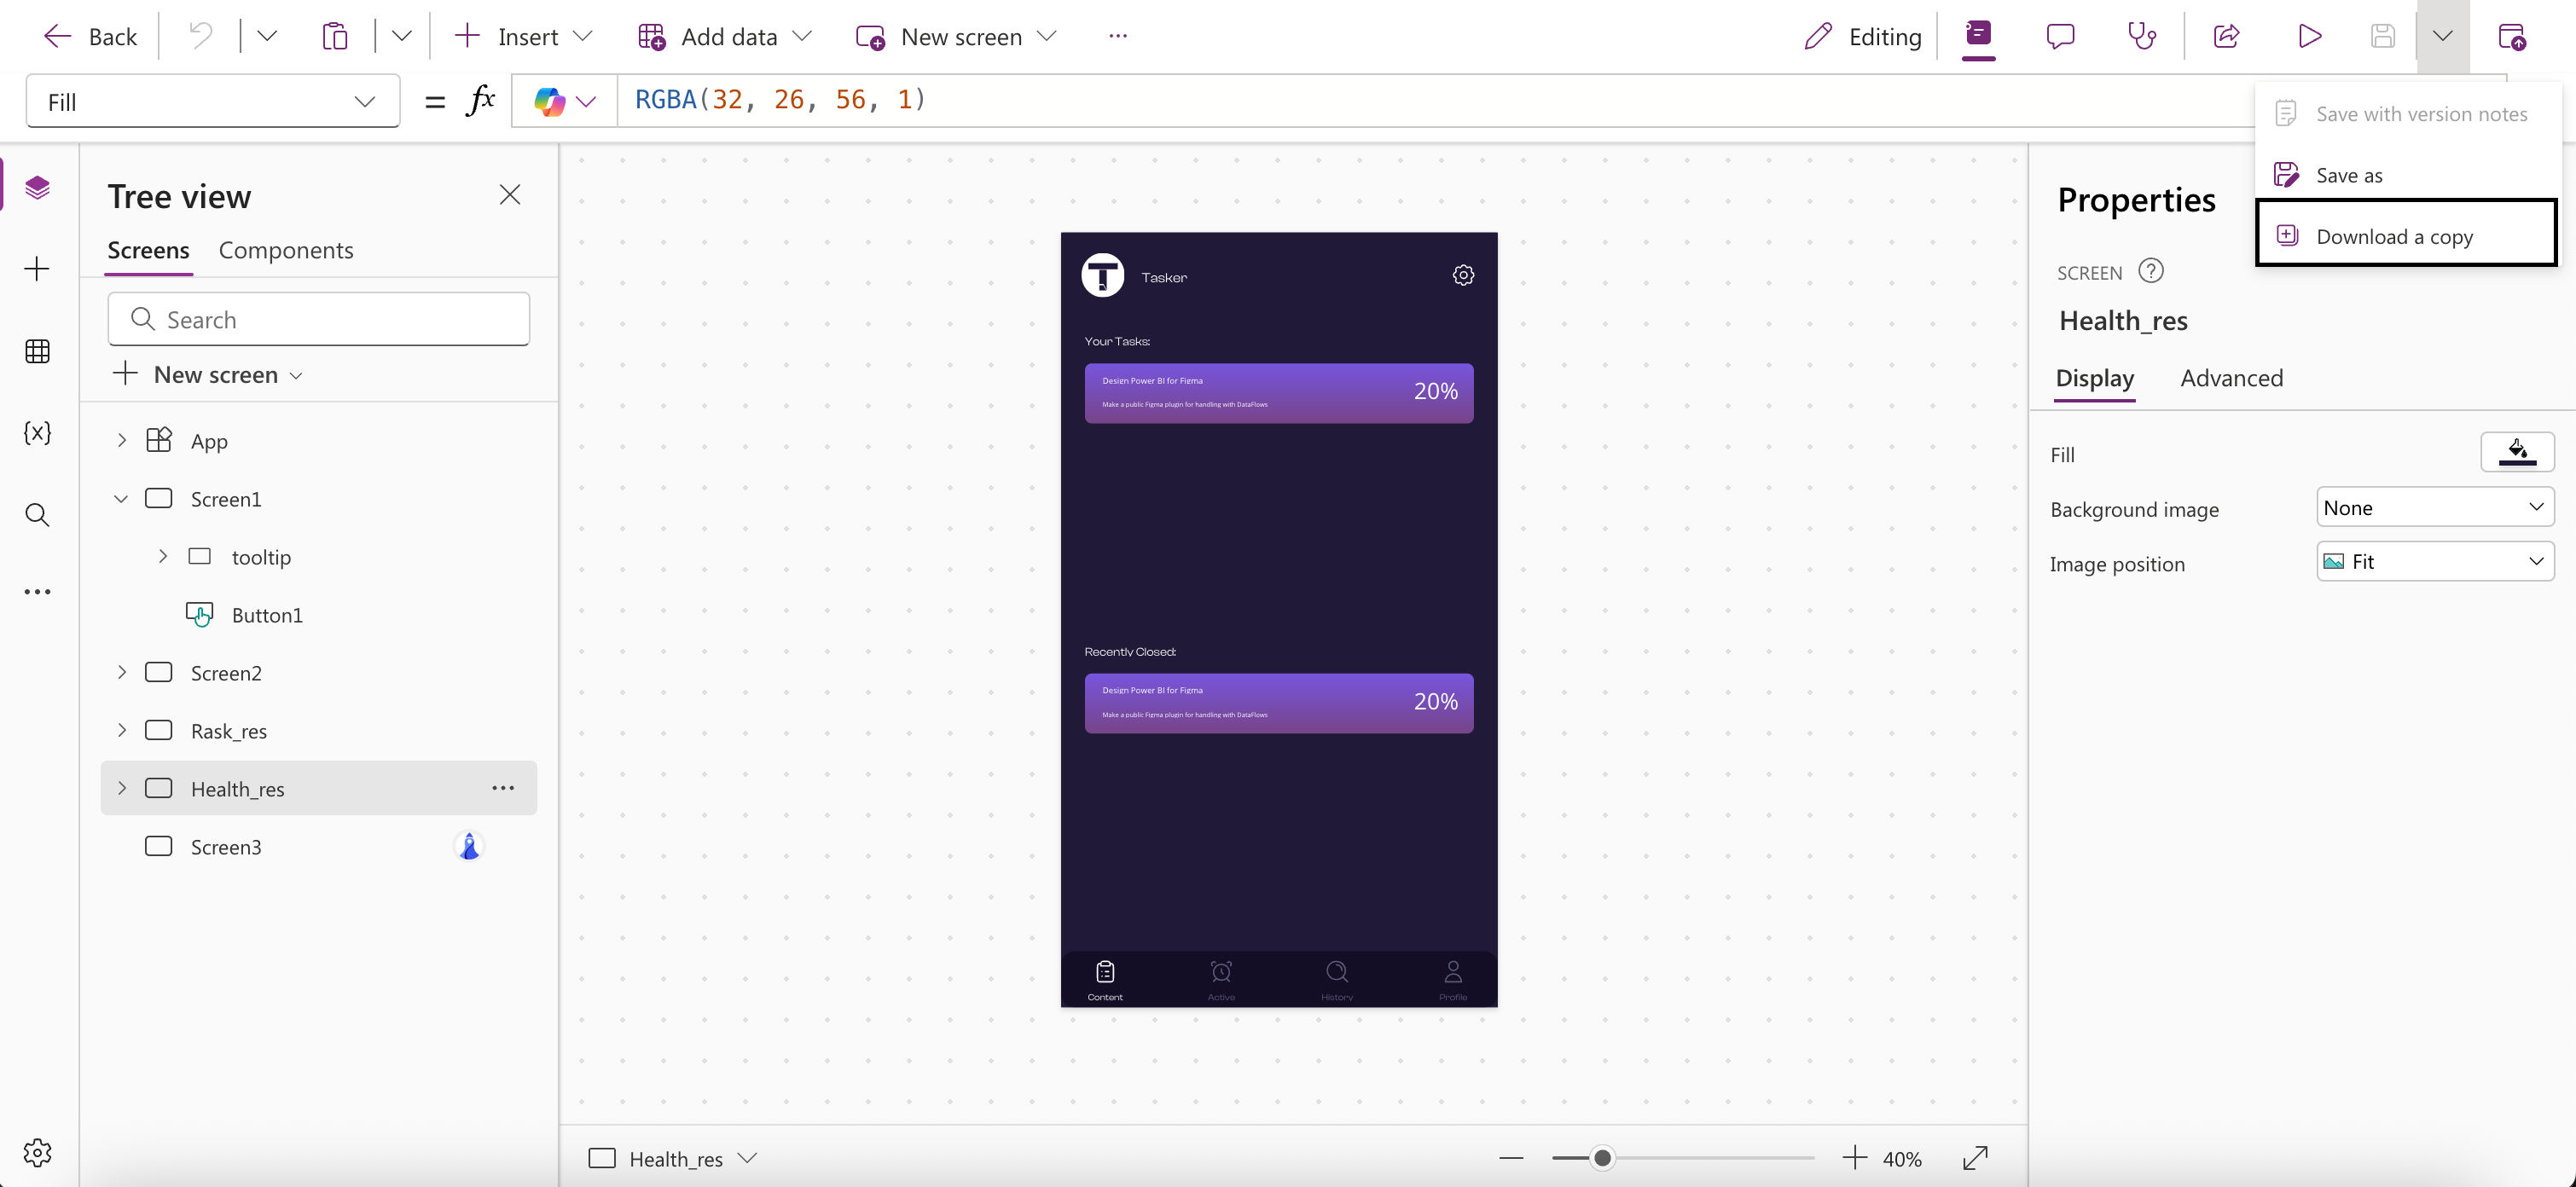
Go to Power Apps builder, open your Canvas application, and click on “Download a copy.“
Platform Tools plugin. Official link is here.
Then in a terminal go to your folder with downloaded MSAPP file and put this command:
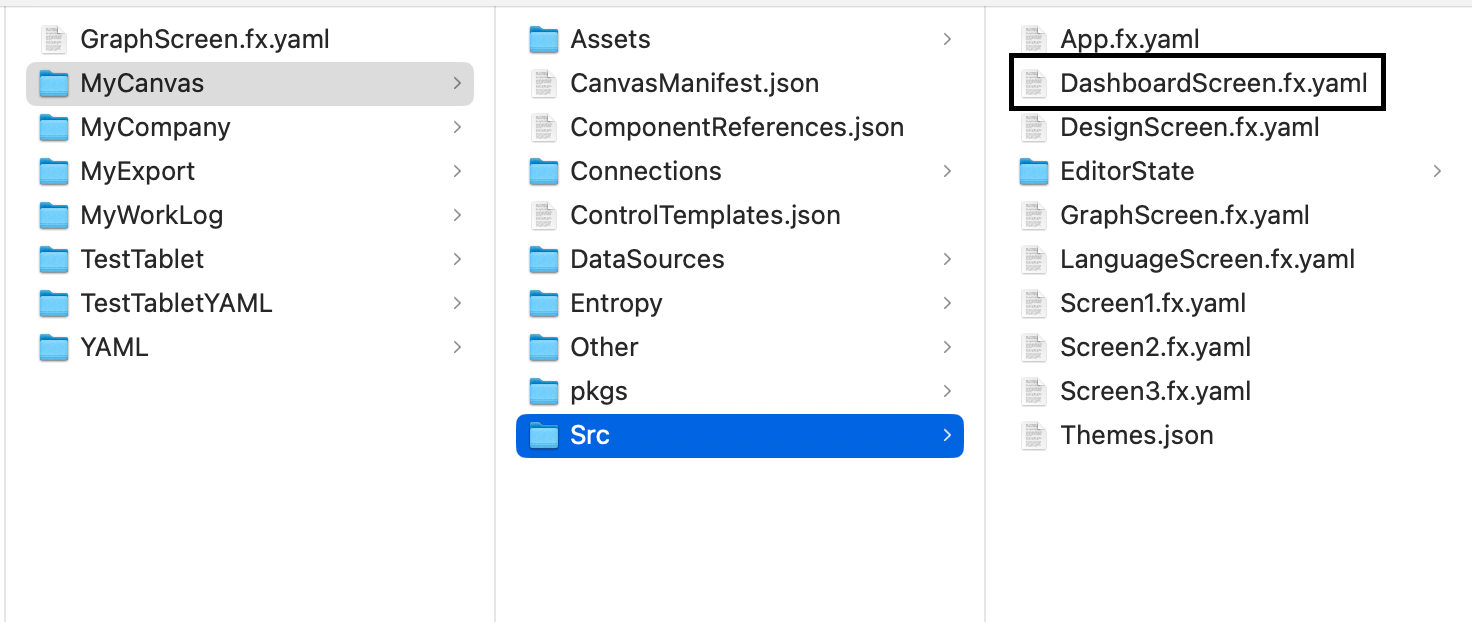
pac canvas unpack --msapp <file_name>.msapp --sources <target_path>/<folder_name>Finally, you will get unzipped MSAPP file with source YAML files.
Import Snippet Code
This feature is only available in PRO version!!!
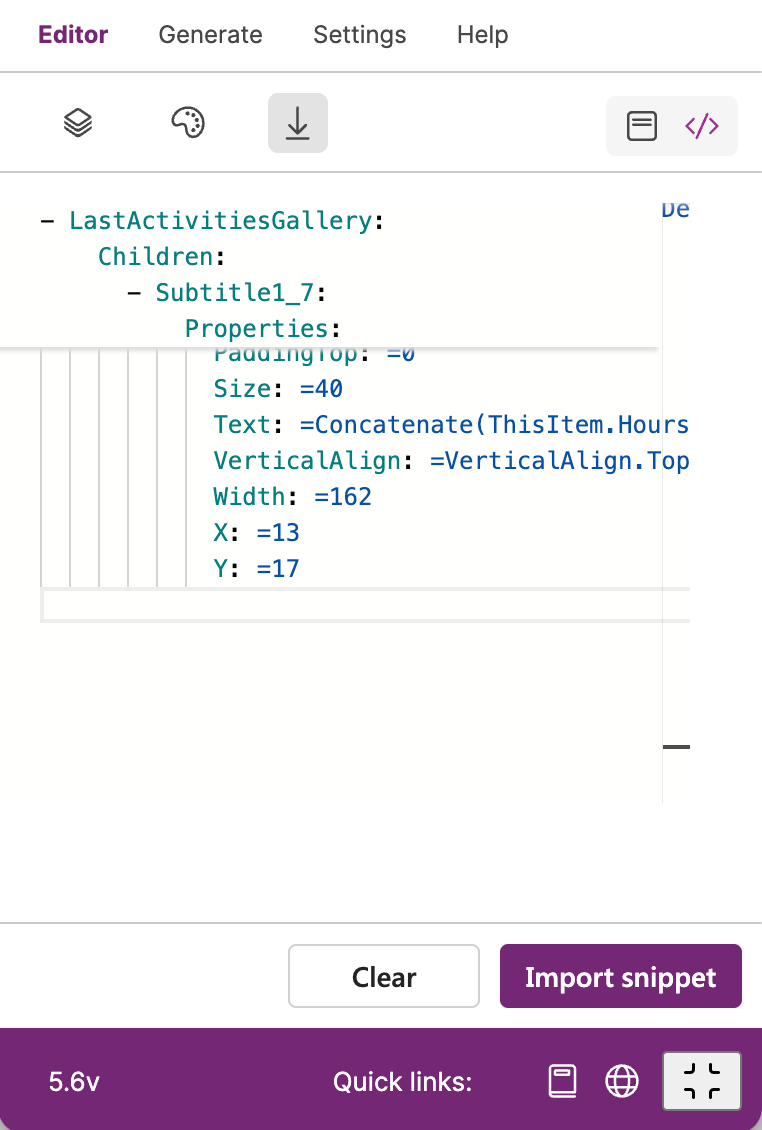
Under the last icon of the Editor tab you can find two icons on the right side. The second one is “Import Snippet Code”. Click on it and paste your snippet code from Power Apps. Then you will see your control imported into Figma.
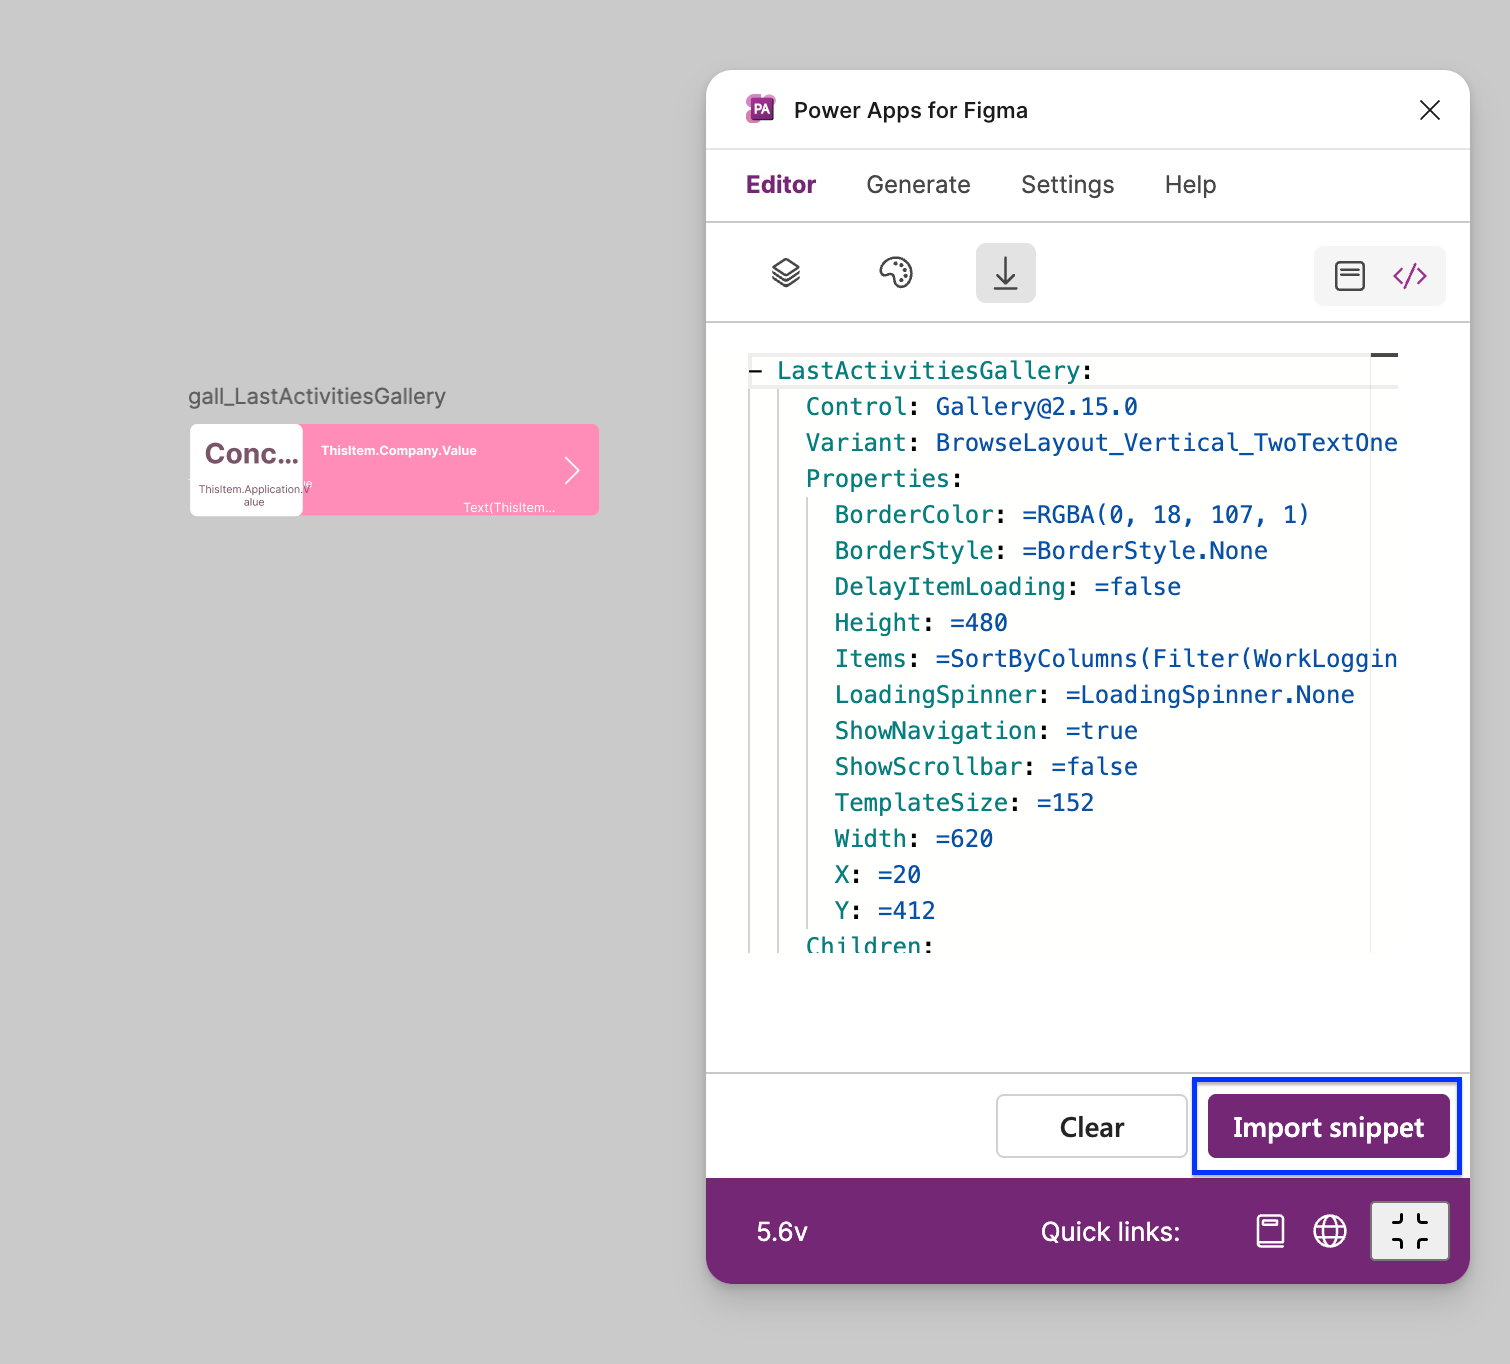
The ‘clear’ button will clean the snippet code editor control in the plugin. Because even if you click on different tab in the plugin, the snippet code editor still contains your snippet code.
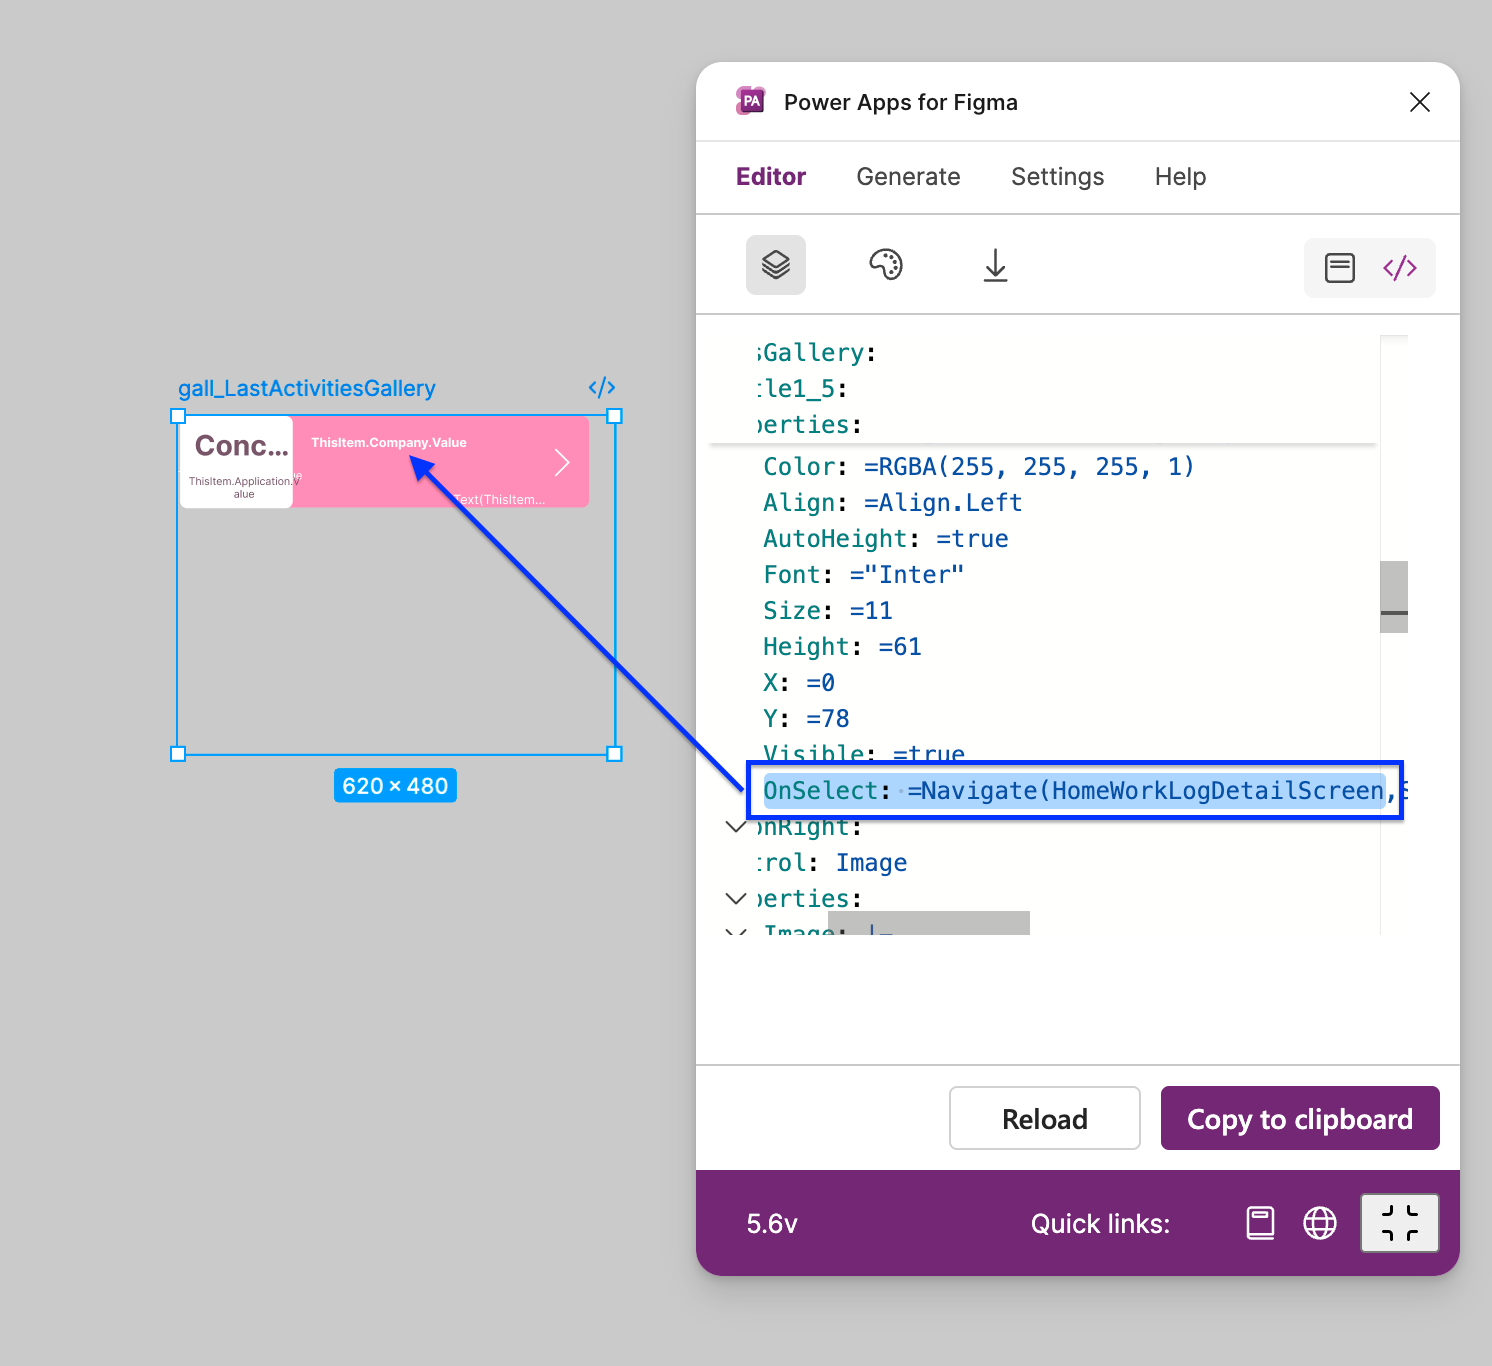
If your snippet code contains Power Apps functions, like OnSelect, or Items, then the plugin will store these functions in your Figma file. That means if you re-design your imported control, you will be able to paste your YAML code from Figma to Power Apps with these functions.
Import from Control List
The last feature of importing to Figma file is importing controls from Control List. This feature is located under the first icon of the clicked Import icon in the Editor tab.
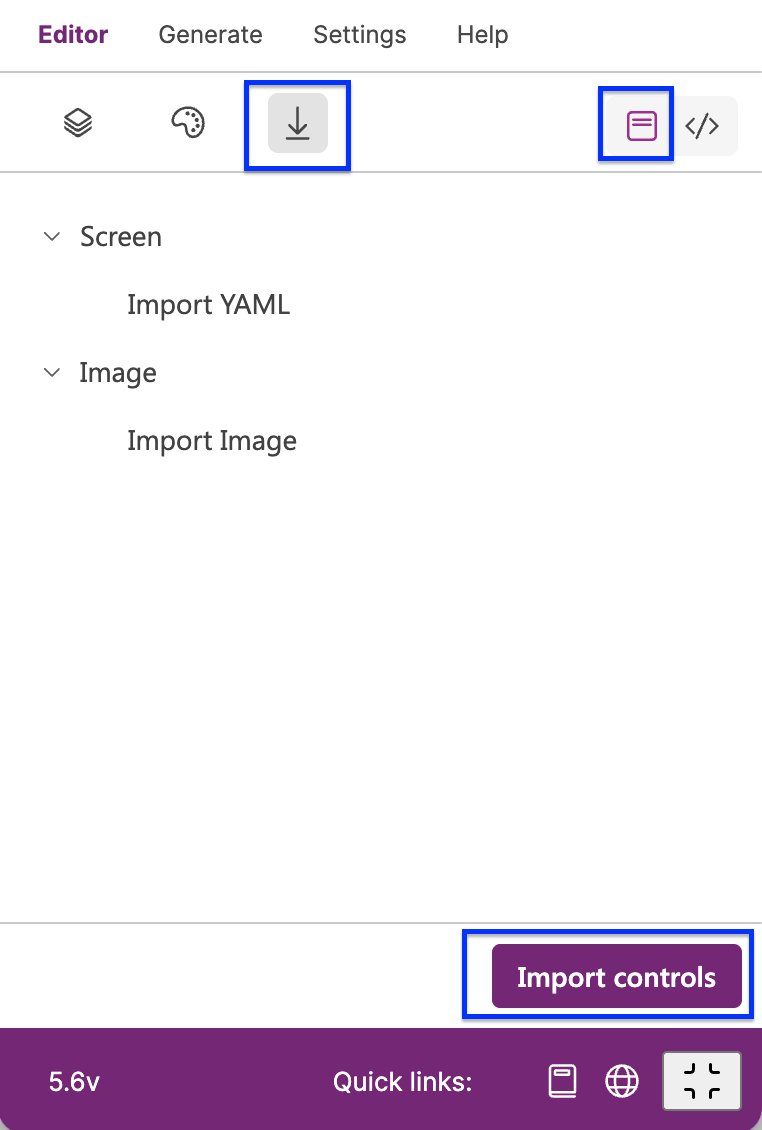
After you click on the “Import controls” a pop-up dialog will appear, where you can choose one or multiple controls from the list of available controls.
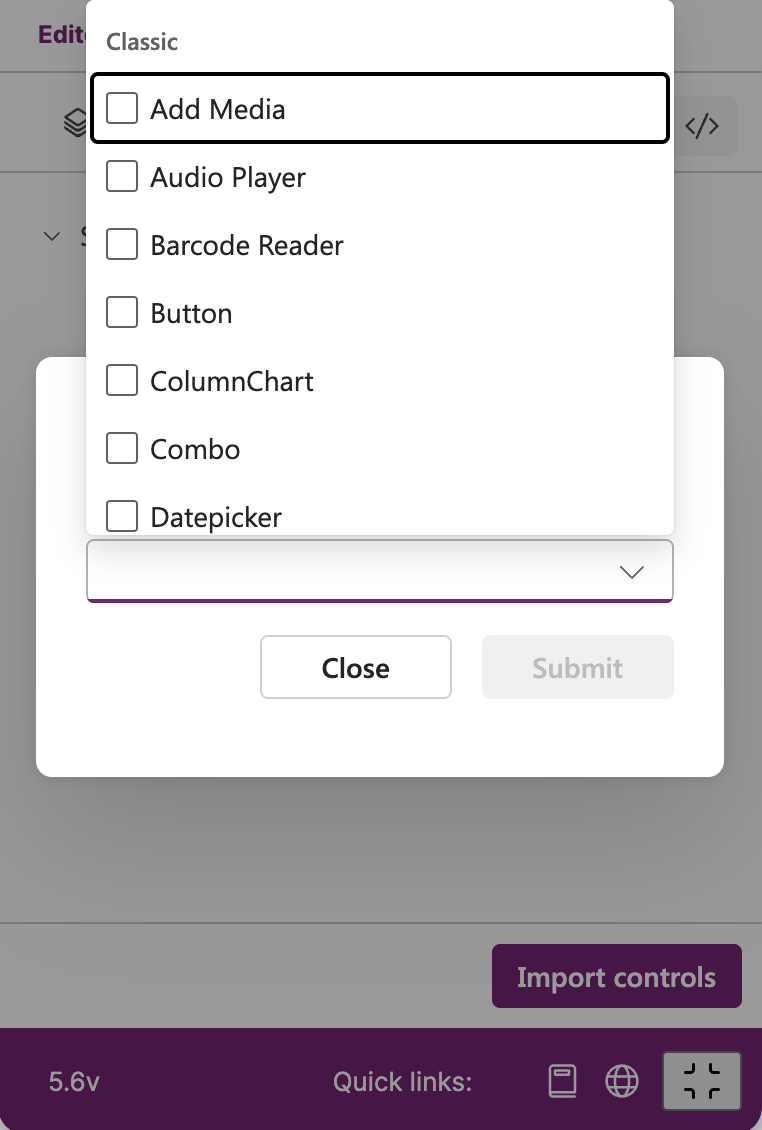
The plugin supports 3 types of controls:
classic
modern
compose
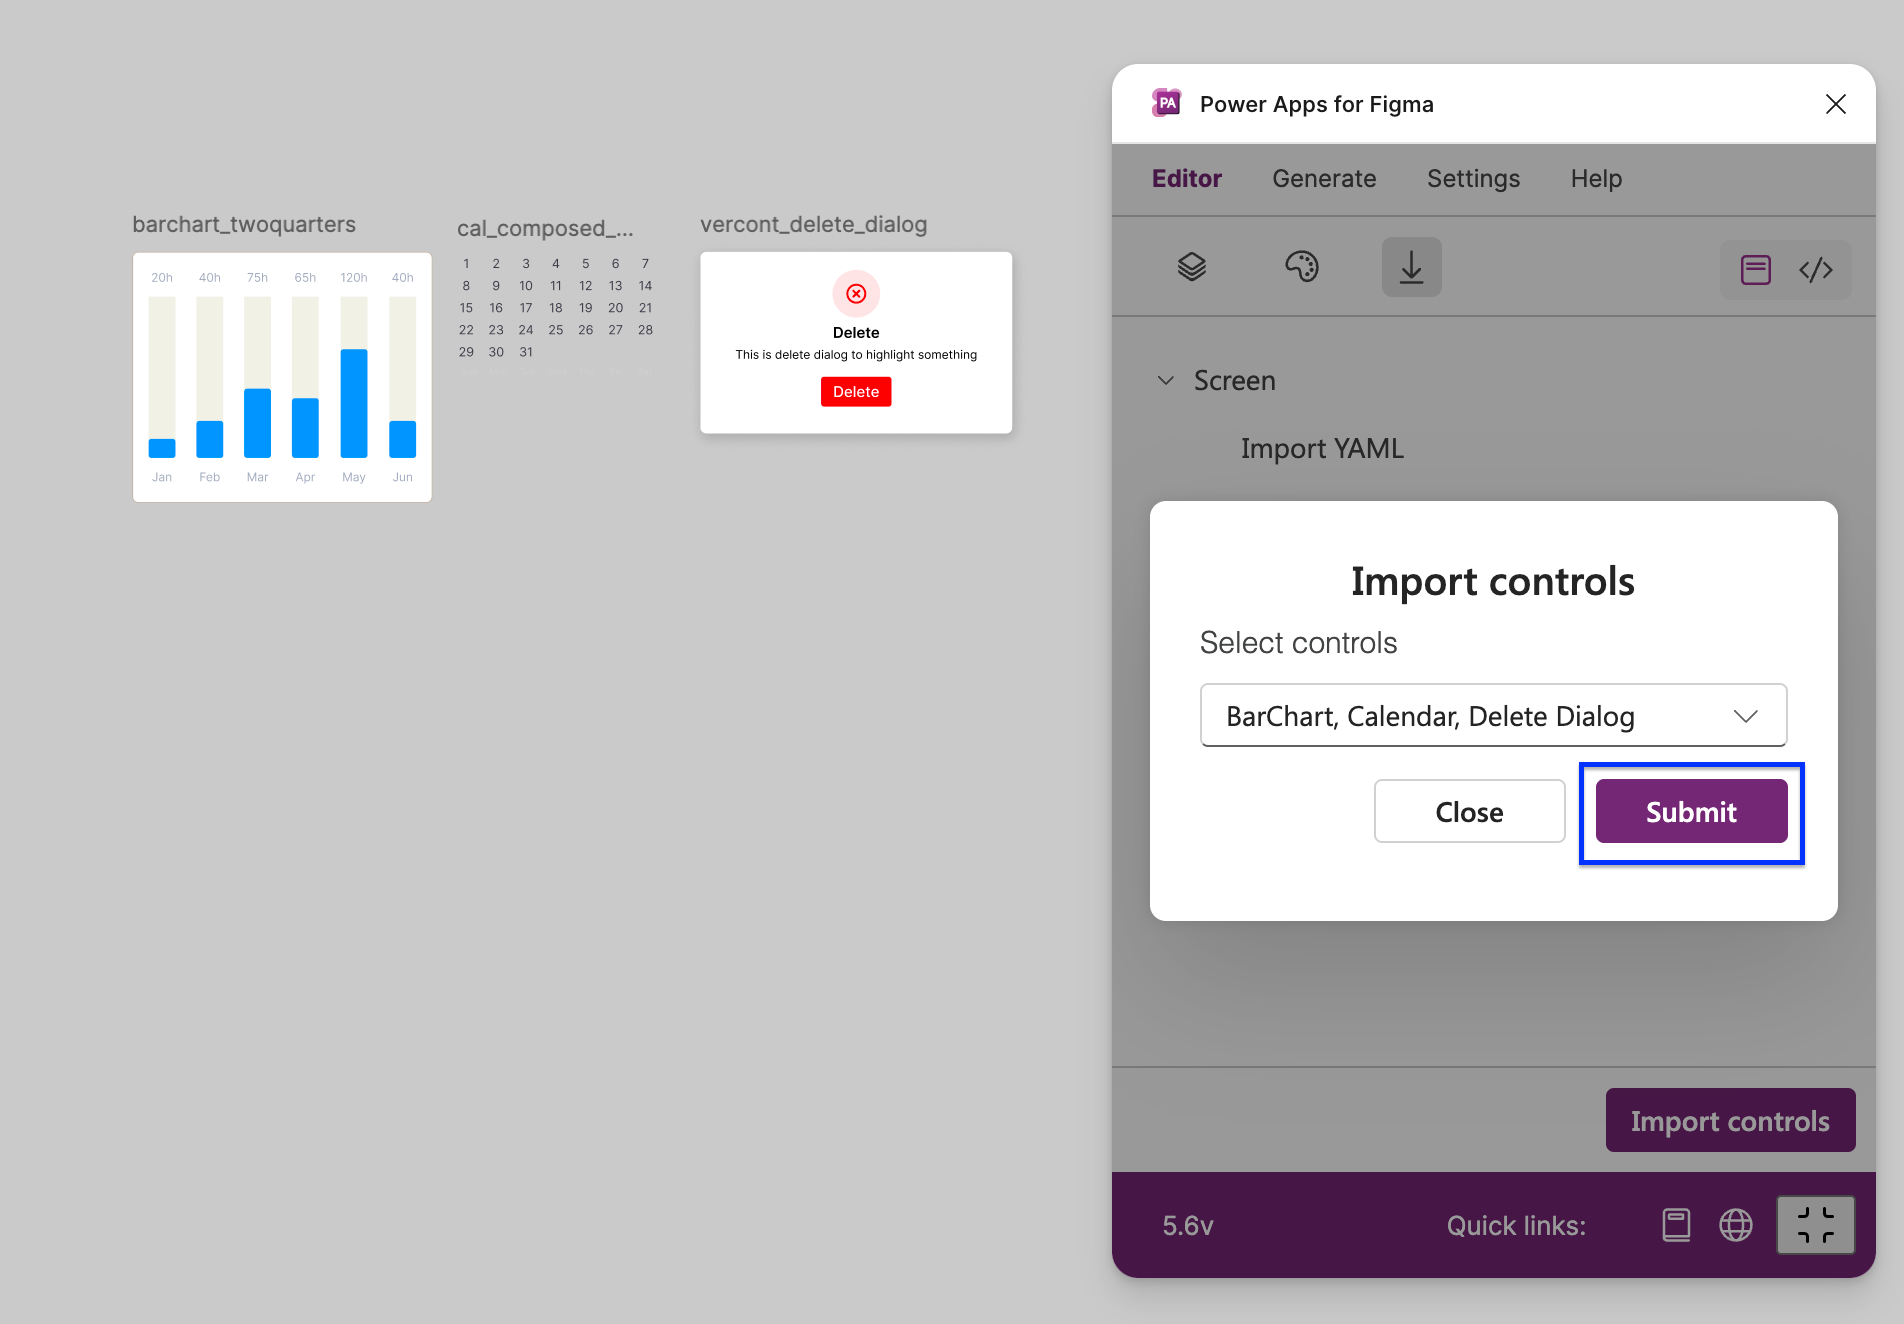
When you select one or multiple controls, and press “Submit“ button, the plugin will import these controls into your Figma file.
Import HTML file into Figma
From version 5.8 you are able to import HTML file into Figma. This feature is located under the same icon as importing YAML file.
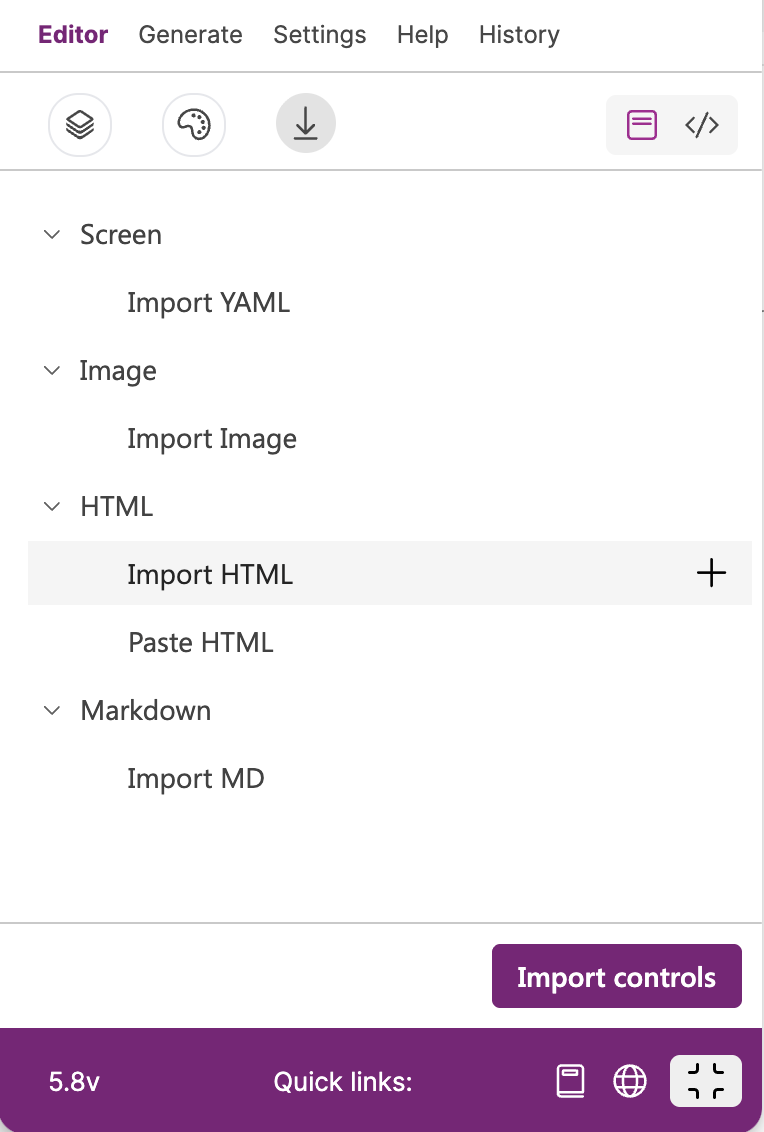
Hover your mouse over the “Import HTML”, click on ‘+‘ icon and choose your HTML file. The plugin supports combination of HTML and CSS, or HTML with Tailwind CSS.
Keep in mind that Javascript is not supported!
If you want to import beautiful HTML controls, check out this website: 👇
https://uiverse.io (here you can find pure HTML with CSS/Tailwind)
Import HTML code into Figma
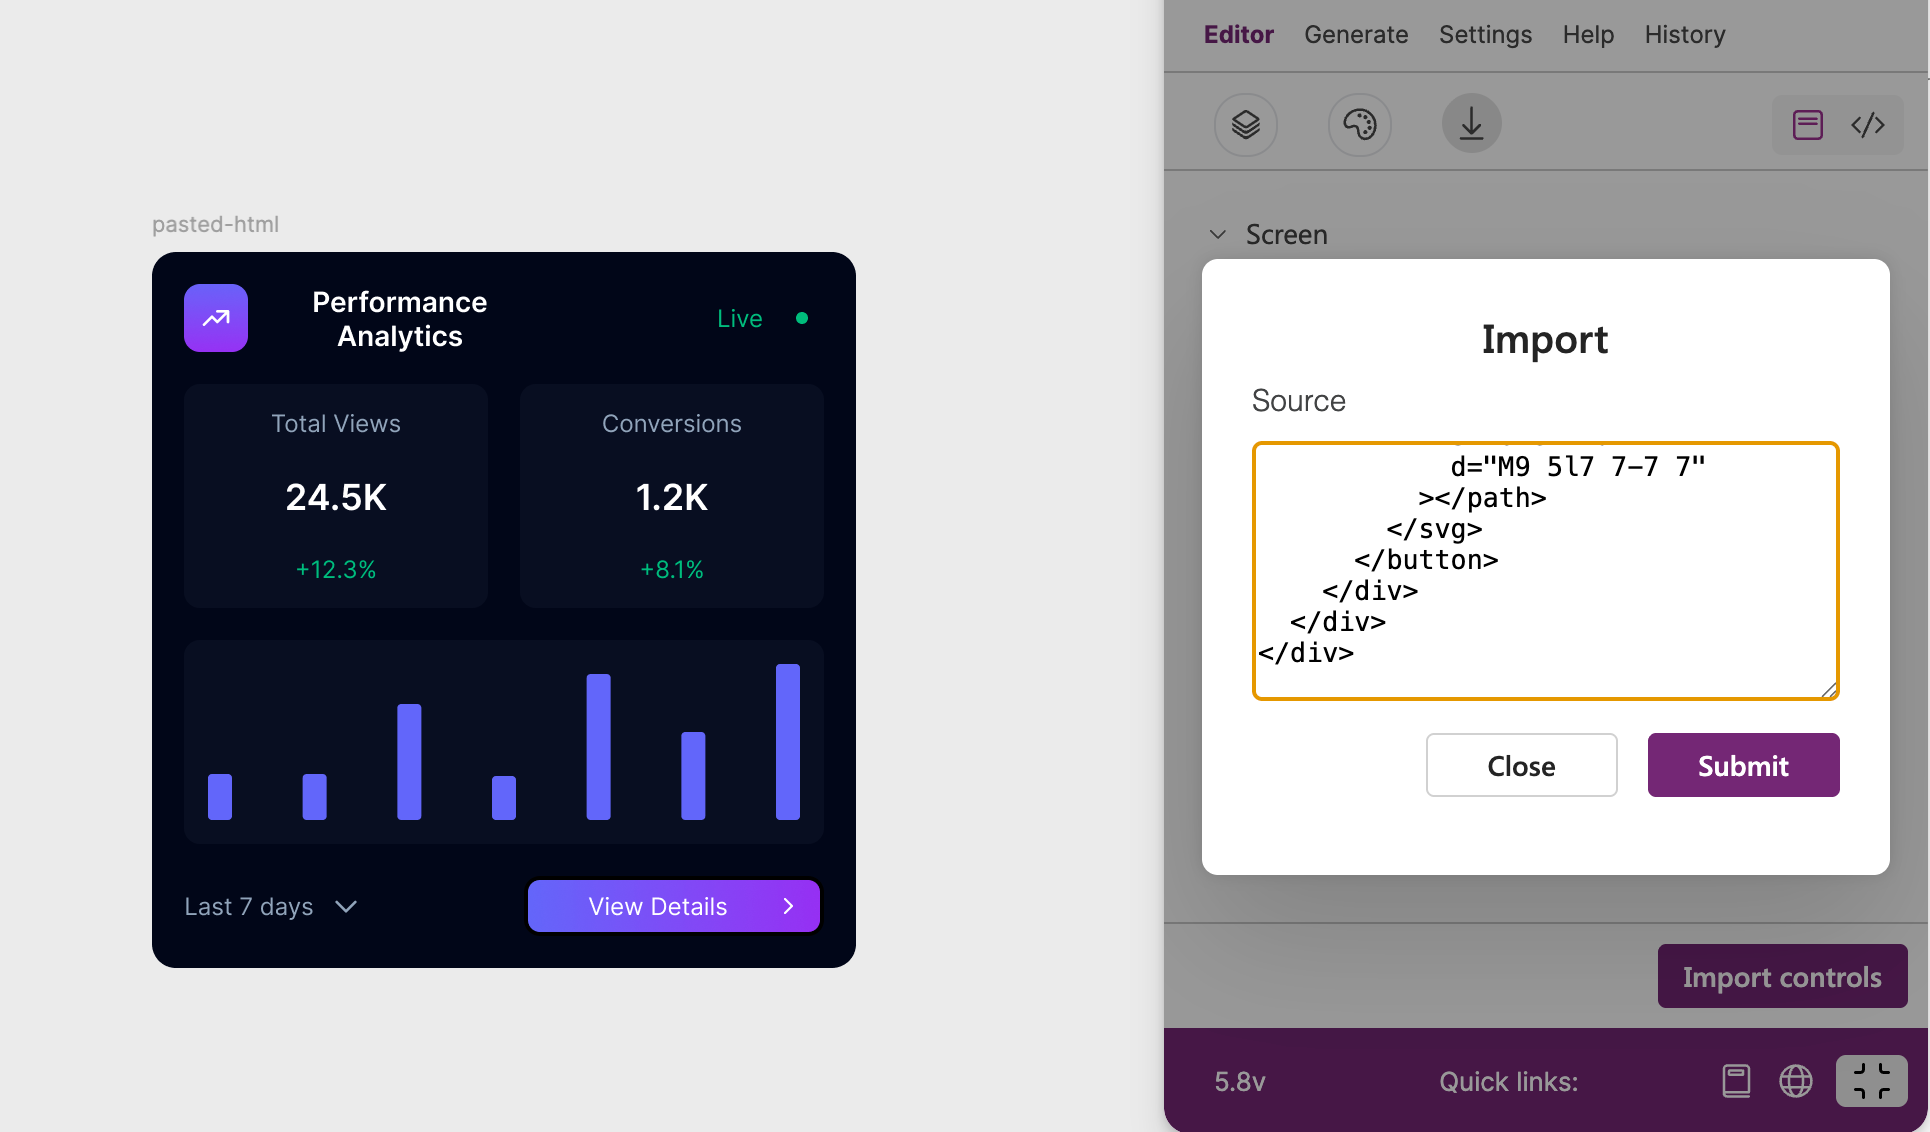
If you do not have any stored HTML file, you can use this feature, where you can paste your HTML code directly into the plugin.
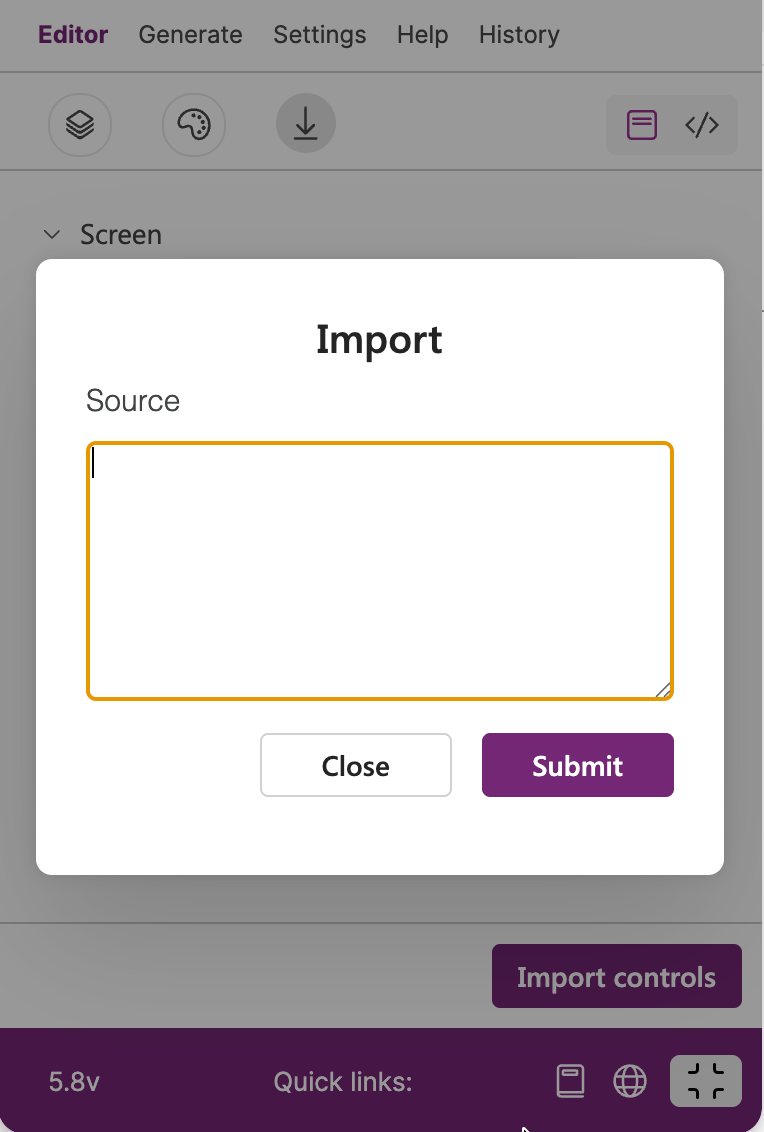
Again, you can use combination of HTML and CSS, or HTML with Tailwind CSS copied from this website: https://uiverse.io
Import Markdown file into Figma
Importing Markdown file into Figma is a new feature in version 5.8, where you can import control, one or multiple screens into your Figma file.
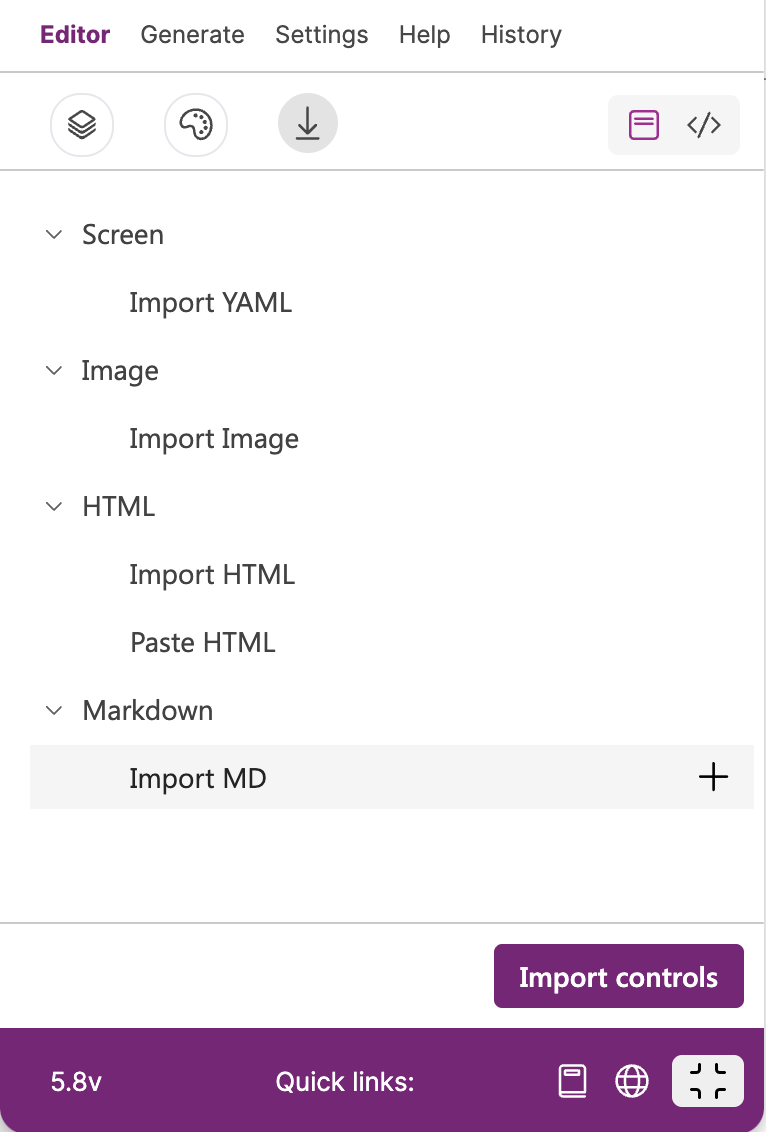
As in previous cases, you simply hover your mouse over the “Import MD”, click on ‘+‘ icon and choose your Markdown file.
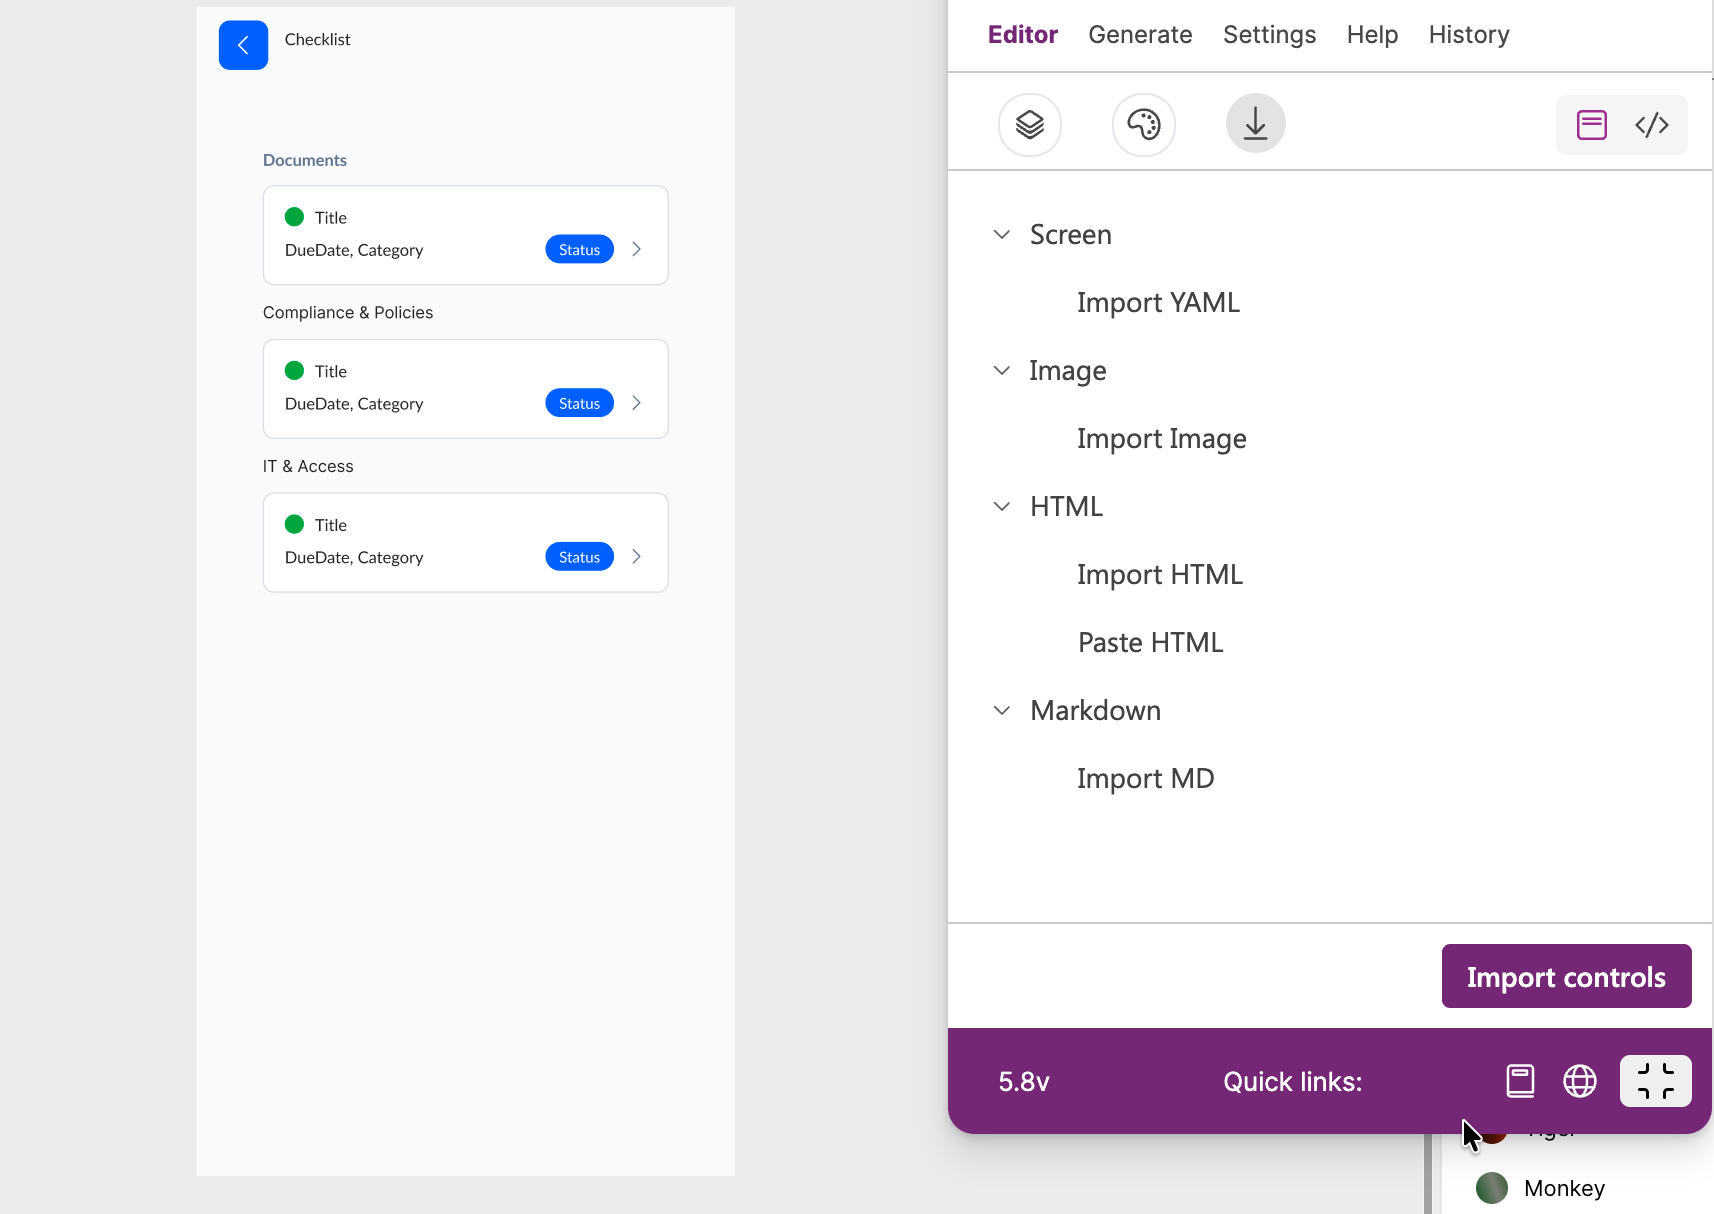
Here is example of importing a screen with 3 vertical gallery controls from MD file into Figma:
Example# Onboarding App — Checklist
## Screen 1: Onboarding Checklist Screen
### Screen Layout Structure
#### 1. Header Section (Height: 56px)
- **Content:**
- icon `ChevronLeft`
- Screen title label: "Checklist"
#### 2. Task List Area (Vertical, scrollable, Padding 16px, Gap 24px)
- **Grouped Task Lists**
- Label "Documents" (Font: Lato, 12px, Bold, `#64748B`, uppercase)
- Gallery `DocumentsGallery`
- Label "Compliance & Policies" (same style)
- Gallery `ComplianceGallery`
- Label "IT & Access" (same style)
- Gallery `ITAccessGallery`
### Task Gallery Configuration
**Control:** `DocumentsGallery` / `ComplianceGallery` / `ITAccessGallery`
**Type:** Vertical Gallery (TemplateHeight: Auto)
**Data Source:** `Filter(OnboardingTasks, Category = "Documents")` (and equivalent per section)
#### Gallery Item Template
```
┌─────────────────────────────────────────┐
│ (●) Task Title [Badge] │
│ Due Jul 24 · HR > │
└─────────────────────────────────────────┘
```
### Gallery Controls
| Control | Type | Field Binding | Formula/Property |
|---------|------|---------------|------------------|
| `StatusCircle` | Circle | Status | `If(ThisItem.Status = "Completed", ColorValue("#16A34A"), If(ThisItem.Status = "In Progress", ColorValue("#F59E0B"), ColorValue("#DCDFE4")))` |
| `TaskTitleLabel` | Label | Title | `ThisItem.Title` |
| `TaskMetaLabel` | Label | DueDate, Category | `"Due " & Text(ThisItem.DueDate, "mmm dd") & " · " & ThisItem.Category` |
| `StatusBadge` | Badge | Status | `Upper(ThisItem.Status)`, colors per status (see Styling & Theme) |
| `ChevronIcon` | Icon 'ChevronRight' | — | Color: `#64748B`, 16x16 |
| `TaskCard` (whole template) | Container | ID | OnSelect: `Set(varSelectedTask, ThisItem); Navigate(TaskDetailScreen, ScreenTransition.Fade)` |
- **Details UI:**
- `StatusCircle` and `TaskTitleLabel` sit in one line (horizontal auto-layout frame)
- `TaskMetaLabel`, `StatusBadge`, and `ChevronIcon` sit in one line beneath (horizontal auto-layout frame)
---
## Styling & Theme
### Color Palette
- **Primary:** `#145DFC` (Blue)
- **Background:** `#F8FAFC` (Light)
- **Border:** `#DCDFE4` (Gray)
### Typography
- **Headings:** Lato, 20px, Bold
- **Body Text:** Lato, 14px, Regular
- **Labels:** Lato, 12px, RegularThis is the output of imported MD file: 👇